
Migrating Email Sending From Klaviyo
You can use the automated Warm-Up Scenario to make your migration from Klaviyo to Bloomreach more efficient. The setup is simple and will allow you to automate a gradual increase in email sending volume in Bloomreach while decreasing sending volume in Klaviyo.
How To Set It Up
Migrate Klaviyo Customer Profiles
To migrate your Klaviyo Profiles:
- Go to
Klaviyo > Audience > List & segments
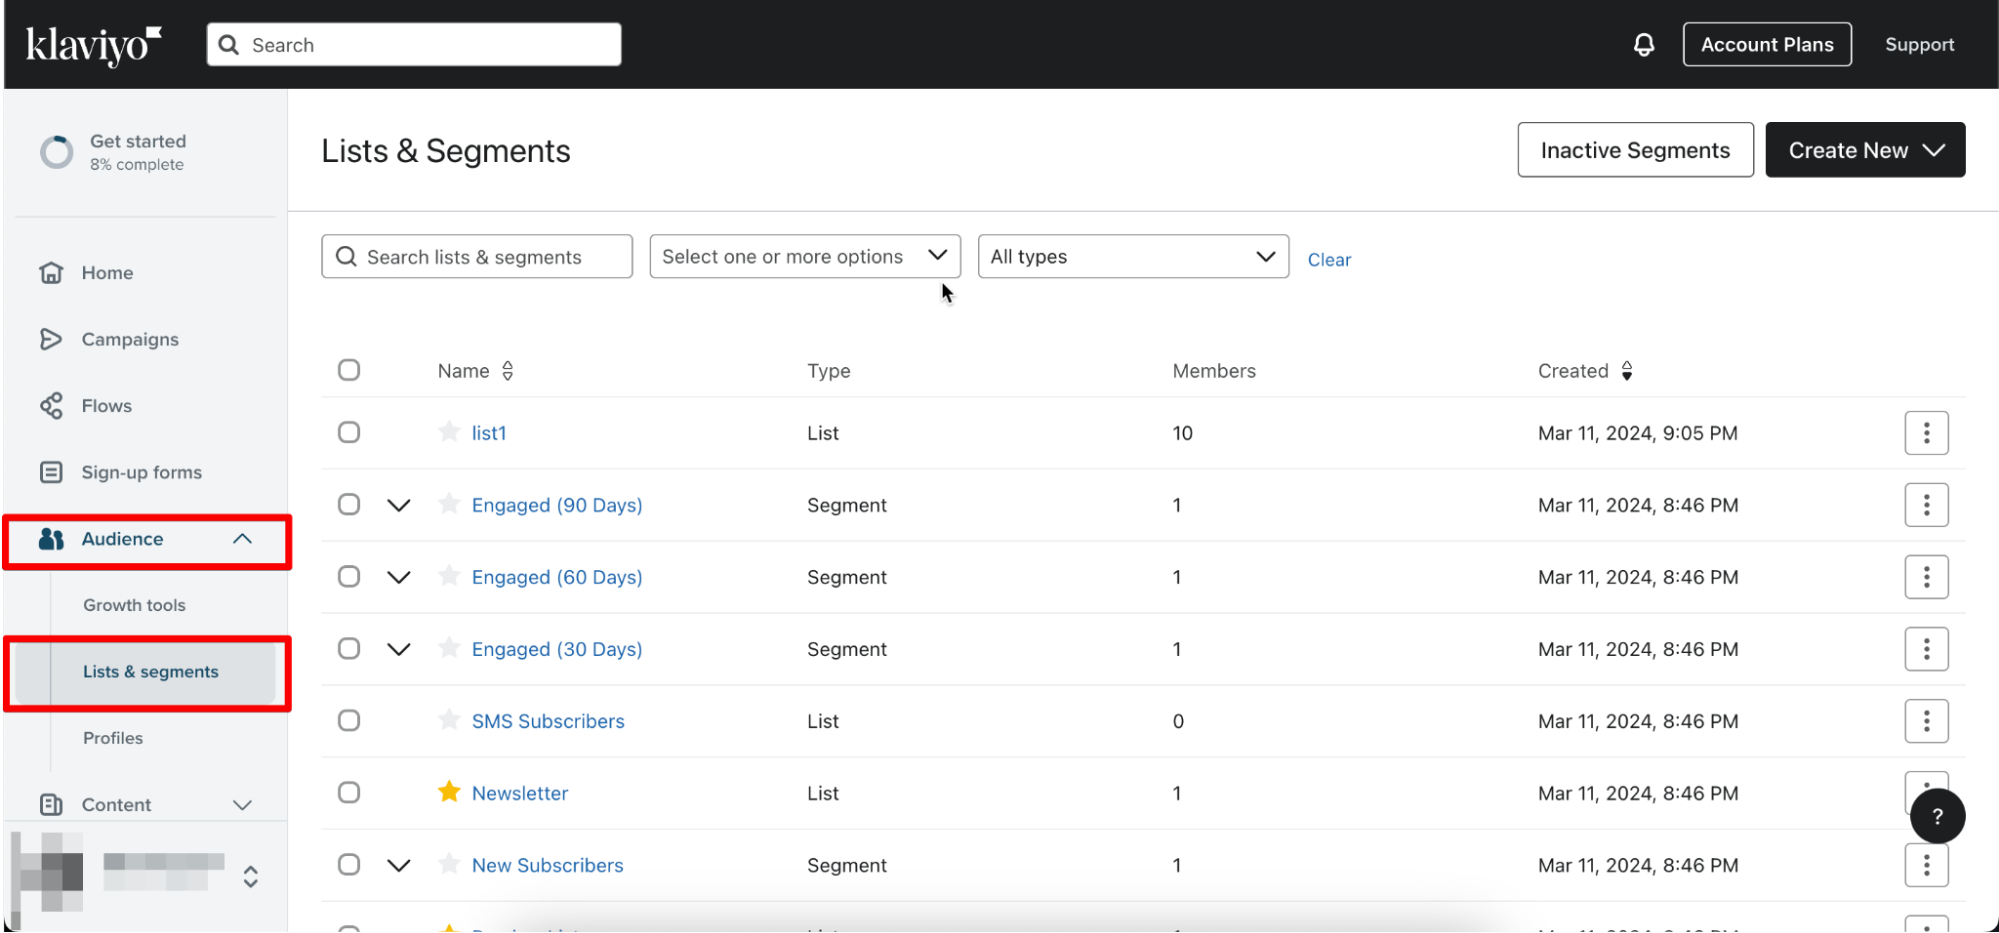
- Click on the Engaged (90 Days) Segment
- Go to
Manage List > Export List to CSV. The list will automatically download to your device. - Go to
Bloomreach Engagement > Data & Assets > Imports > + New import
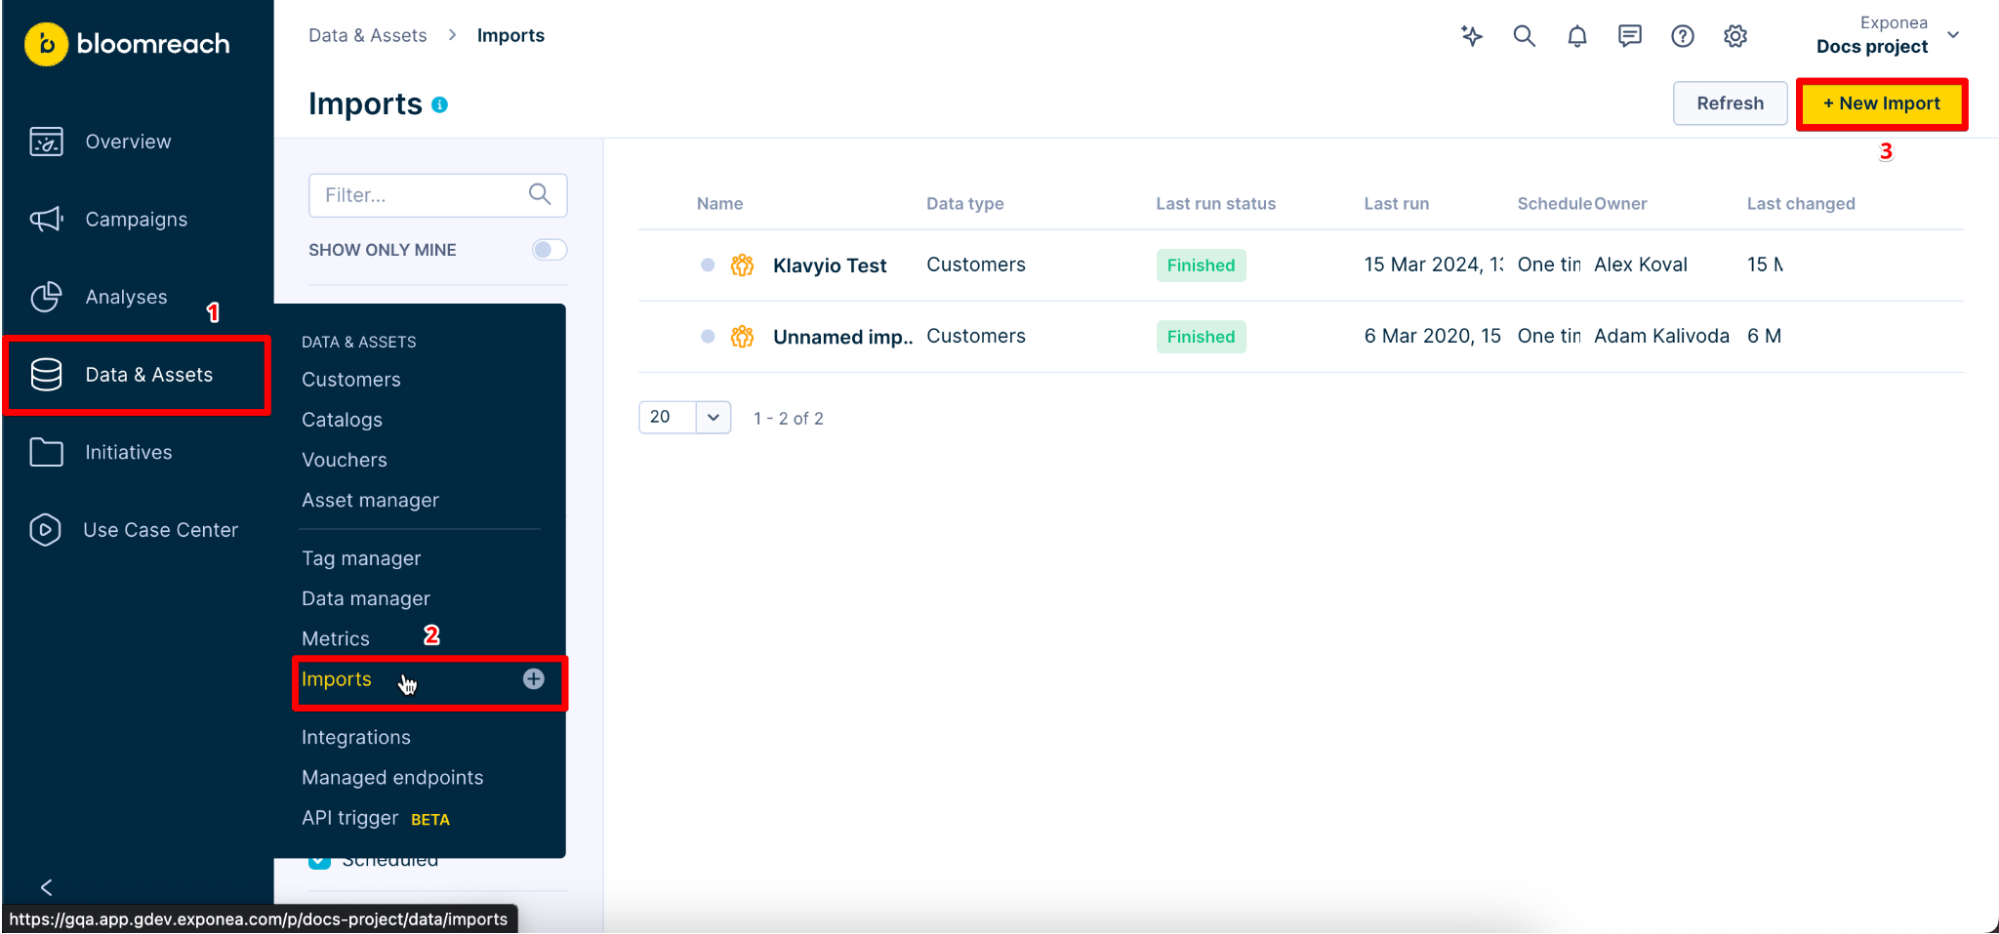
- Click on
Customers
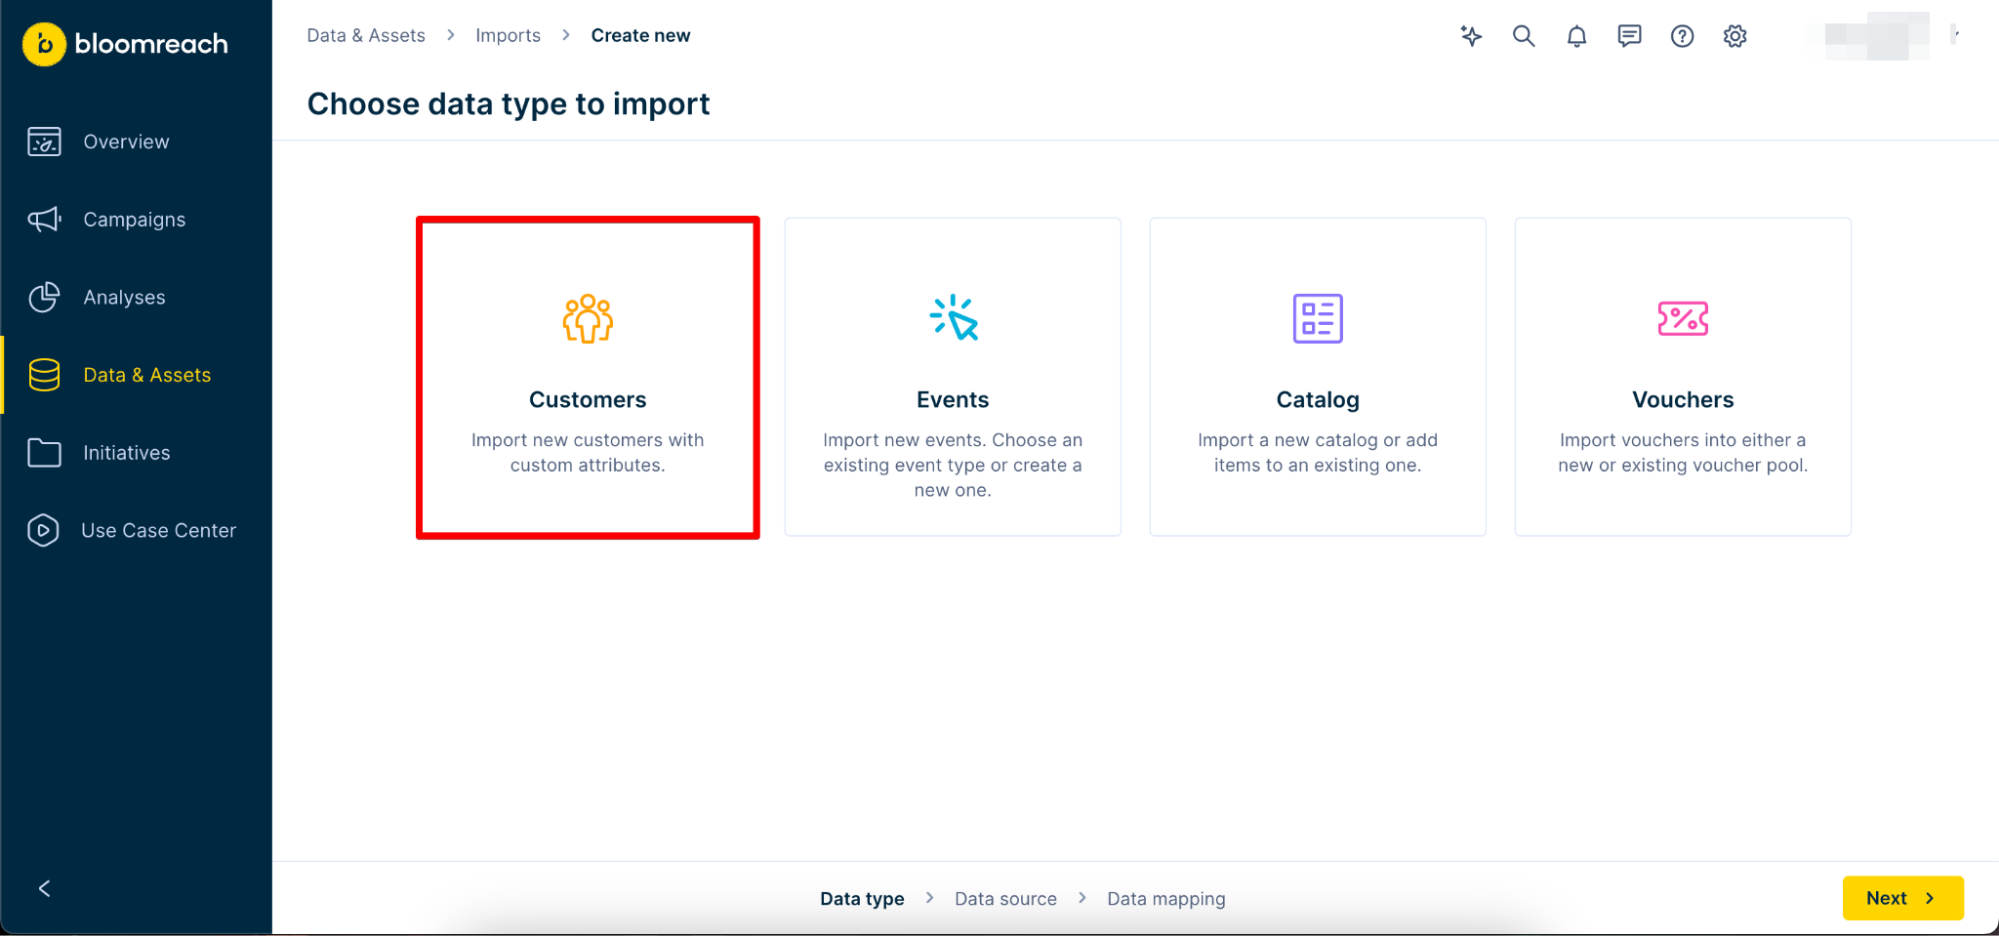
- Move to the
Upload a Filesection and upload the CSV file. Give your import a name and clickNext.
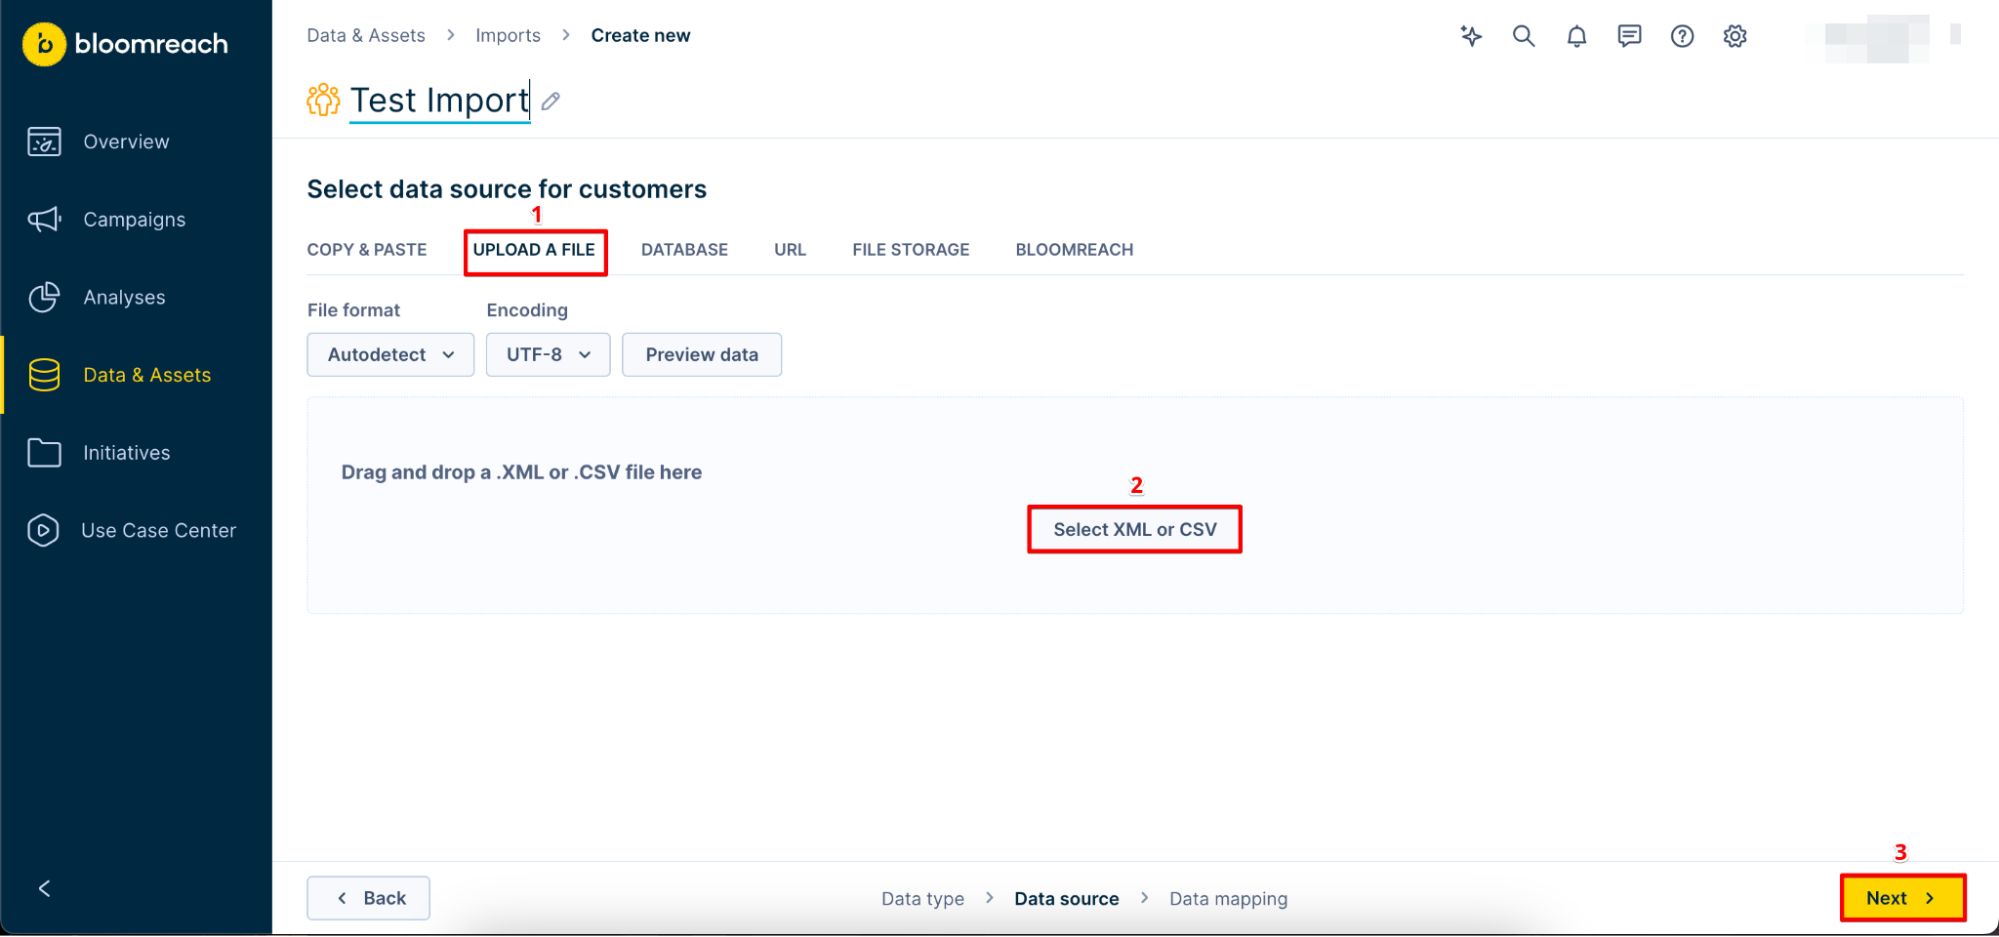
- Assign at least one Customer ID and click on
Run import
Add Klaviyo Integration
Now that you have migrated your customer profiles to Bloomreach, it's time to add the Klaviyo integration:
- Go to
Data & Assets > Integrations > Add new integration

- Look for Klavyio and click on
+ Add integration
Adjust the Integration
You will need your Klavio API key for this part. To get it, go to your Klaviyo account and follow these steps:
- Click on your account located at the bottom left and click on
Settings
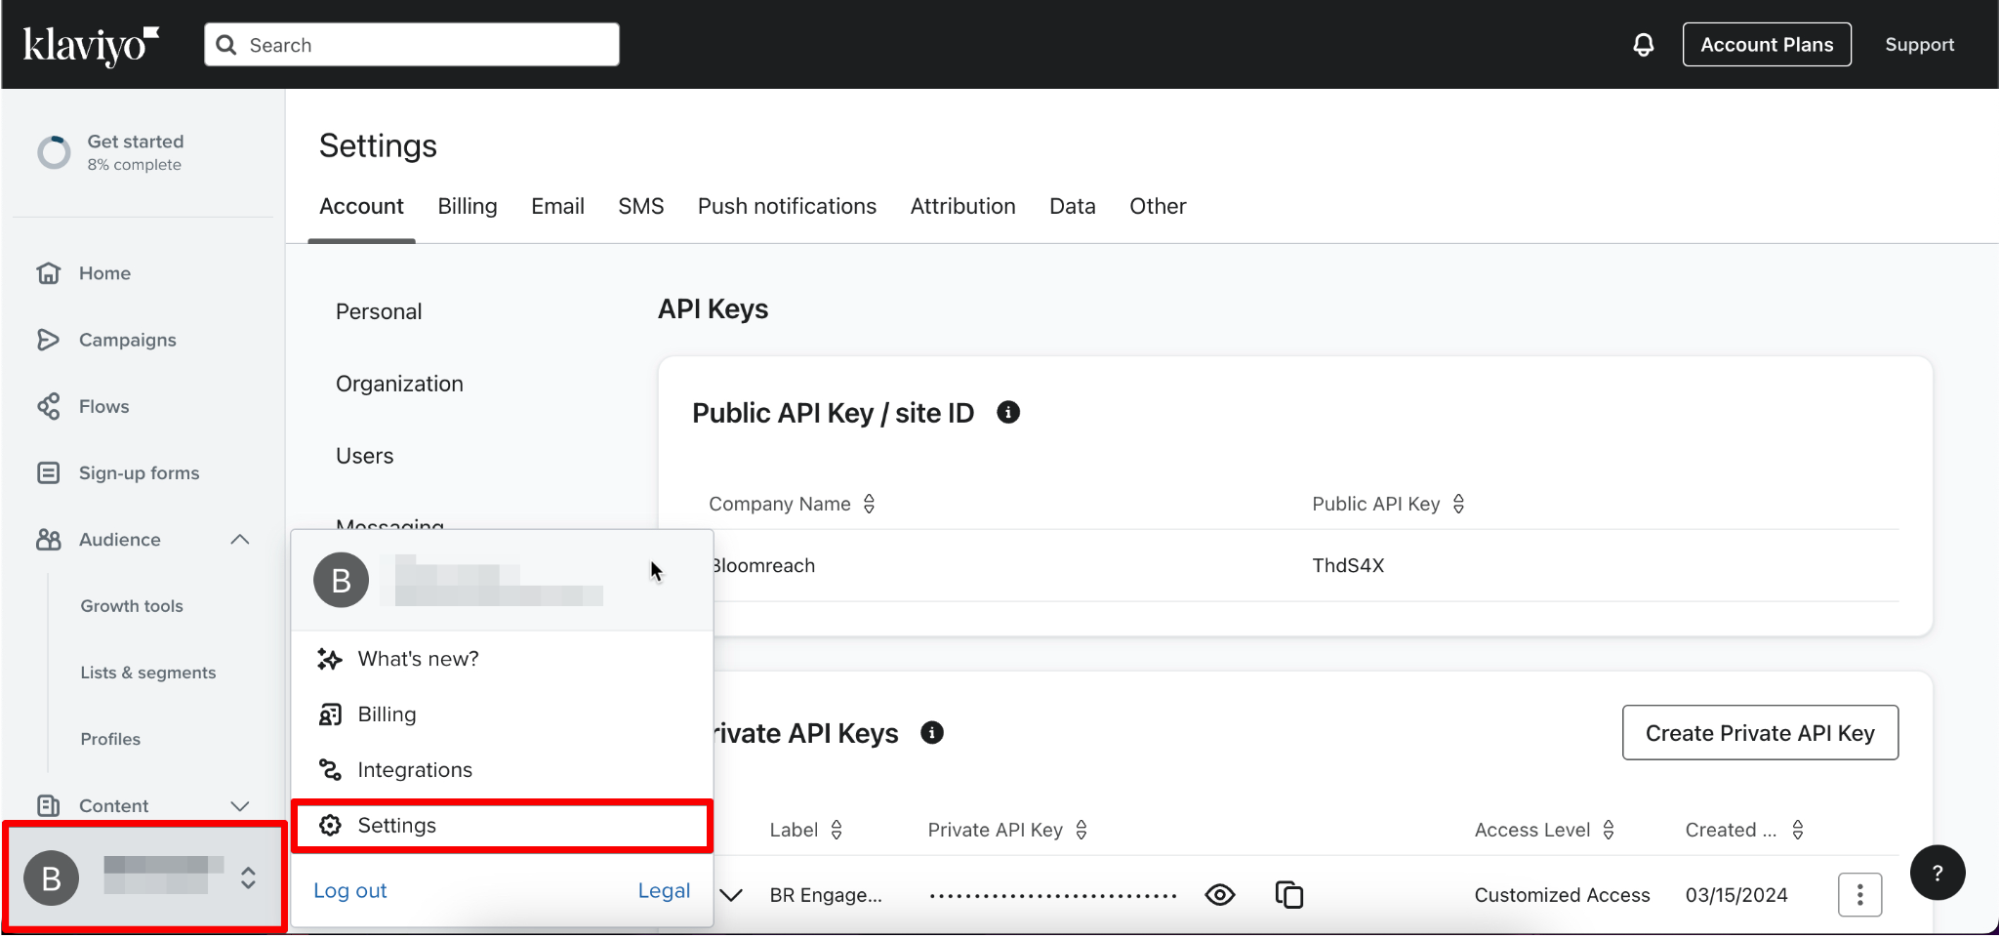
- Click on
Create Private API Key - Name your API Key and assign your chosen accesses
- Click on
Createand save your API - Go back to your Klaviyo Integration in Bloomreach Engagement and paste your API Key
- Adjust the Customer property mapping to suit your needs
- Click on
Save integration
Get Your List ID
- In Klaviyo, go to
Audience > Lists & Segments - Find the Engaged (90 Days) Segment, and click on the three dots next to it
- Click on
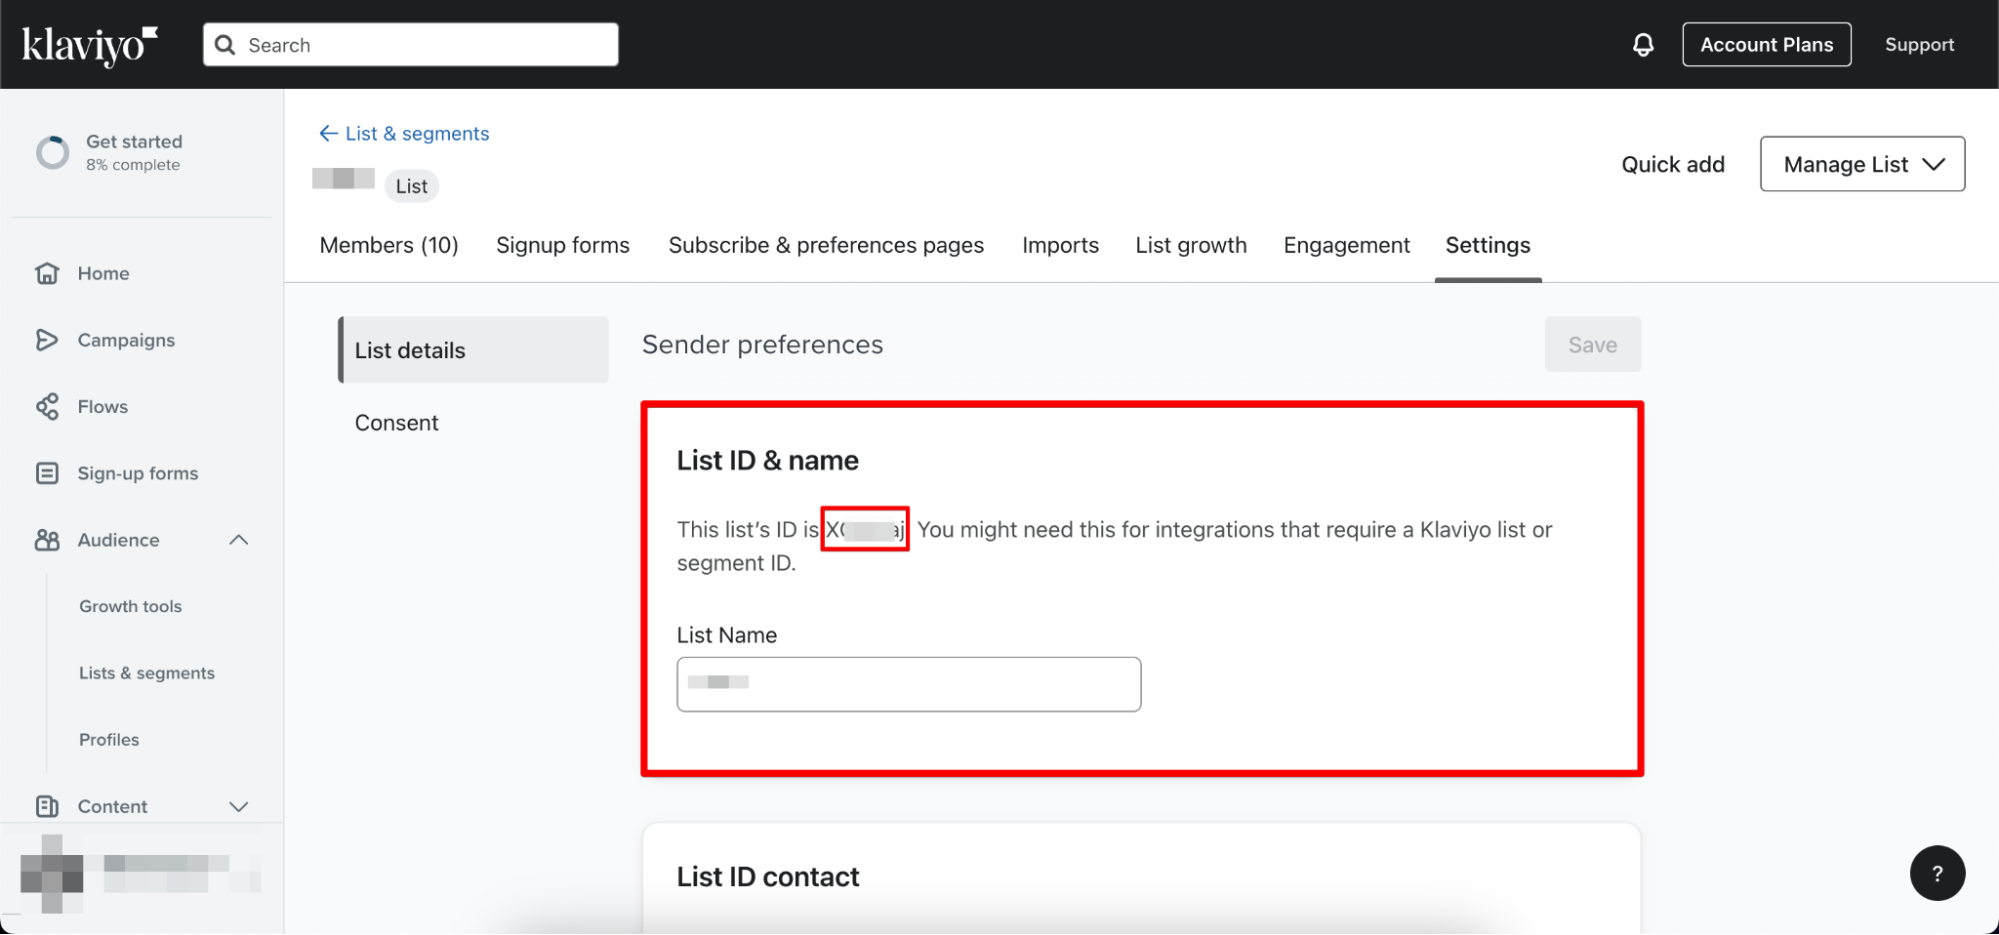
List settings
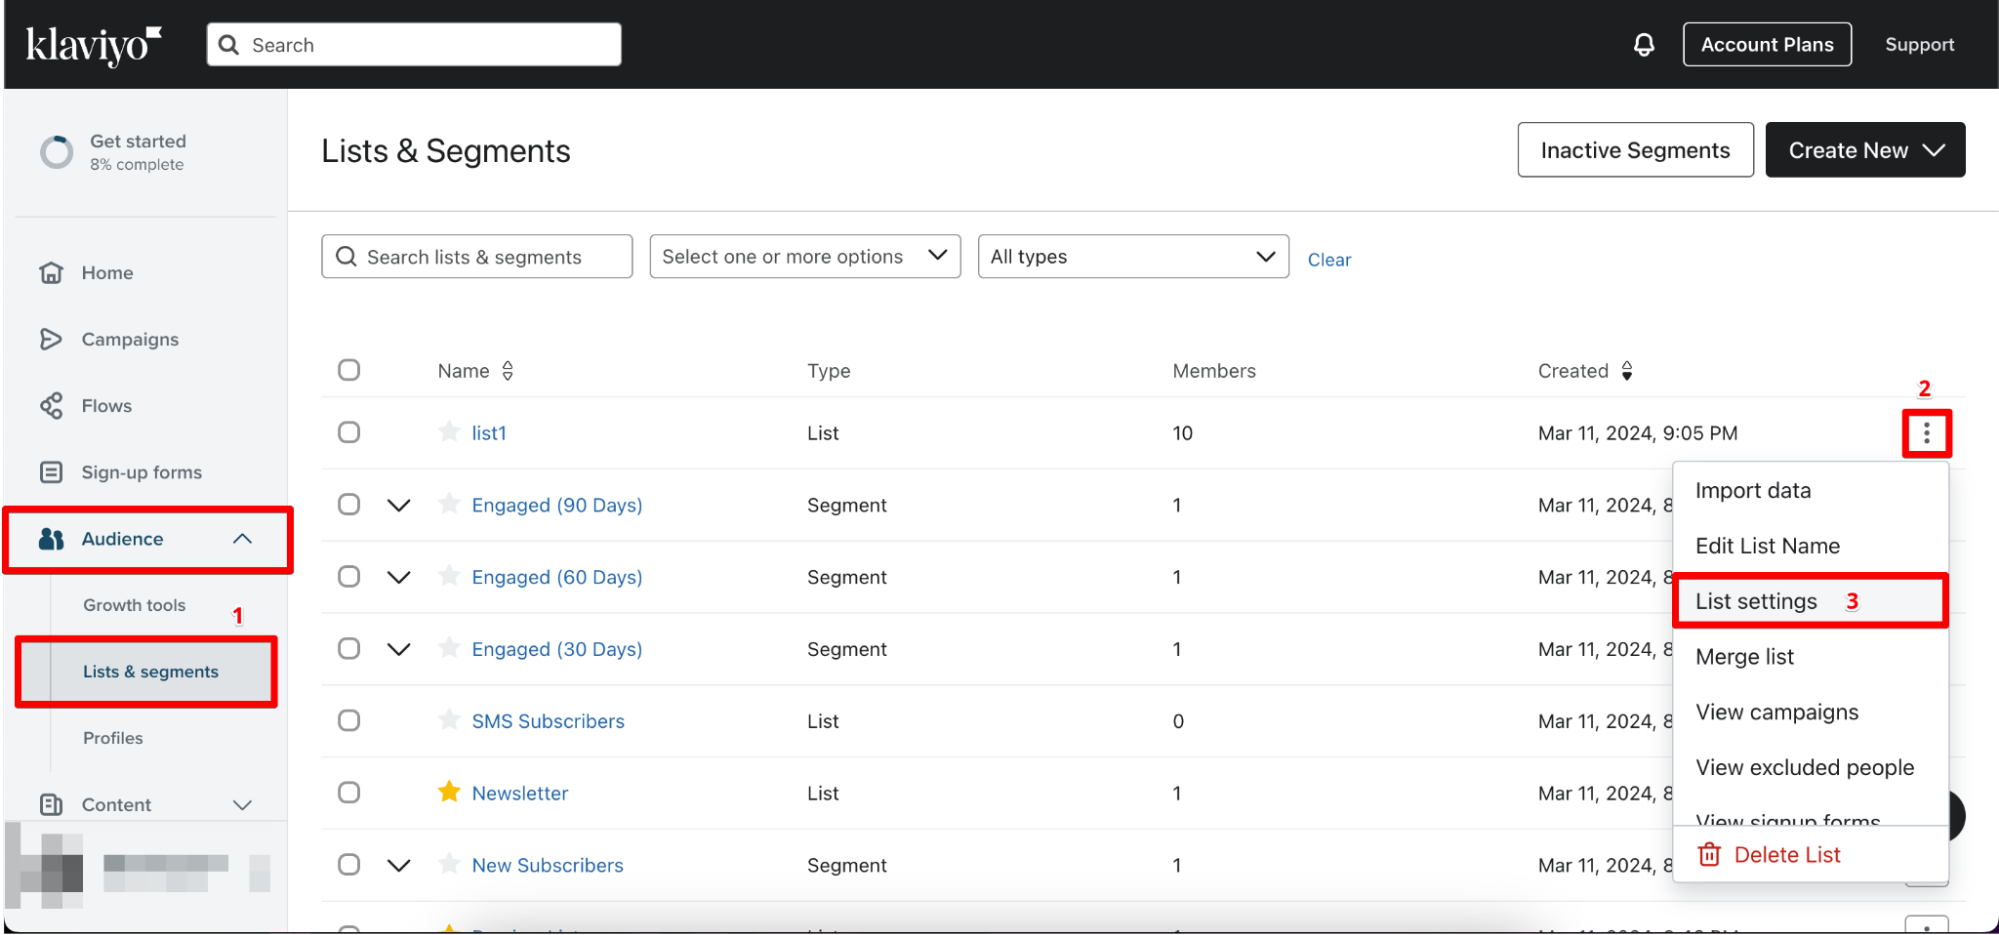
- Copy and note down the List ID. You will need it later.
Customize the Warmup Campaign
You can choose from two different initial Email campaigns.
Variant 1 lets you send different email templates each sending day to previous and new customers.
Variant 2 lets you reuse existing templates, as some customers will be excluded in the following sending days.
Variant 1
The #296 Consent reject node ensures that customers who unsubscribe trigger a flow that also unsubscribes them in Klaviyo.
Add the Unsubscribe List ID
- Go to Klaviyo, find the Unsubscribe list, and click on the three dots next to it
- Click on
List settings - Copy and paste the ID into the #297 Unsubscribe List node
Day 1
The flow starts at midnight each sending day, so you will have the most recent data to add customers to the list.
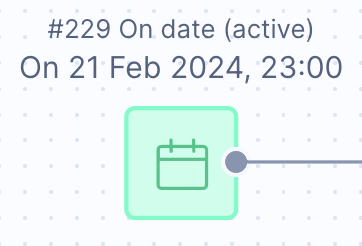
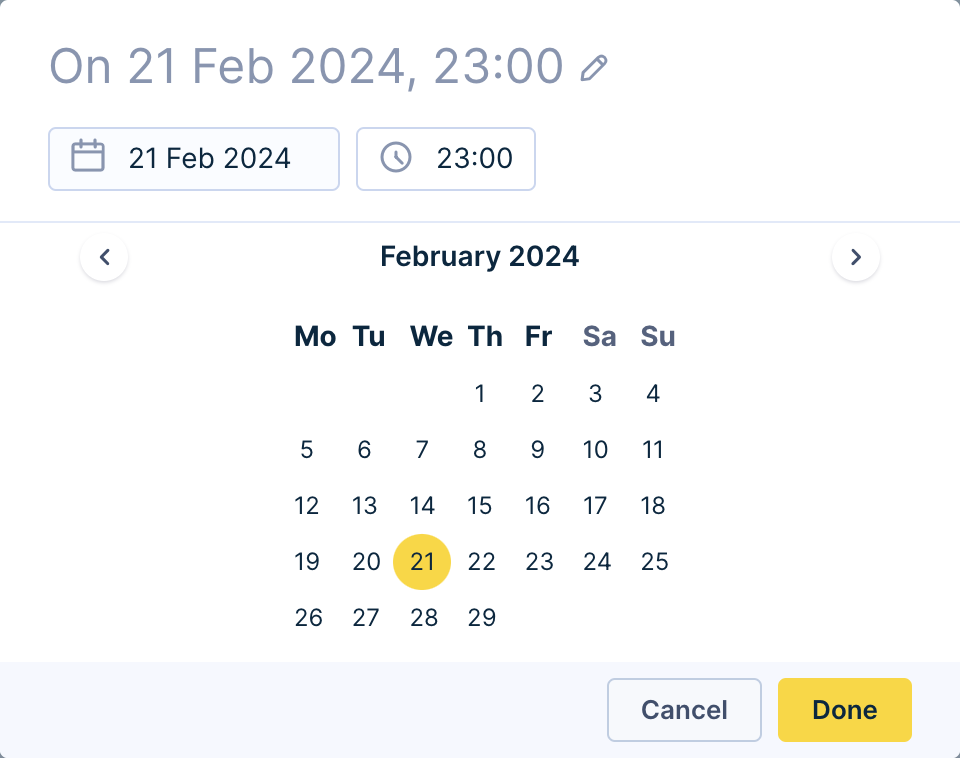
Adjust Dates in the Scenario
Click on the #229 On date node and adjust the date of your first Email
Note
This step needs to be done manually for each day. Make sure that the days correspond to the day number in the scenario.
Adjust Customer Consent and Email
- Click on the #7 Condition node
- Adjust the Consent and Email
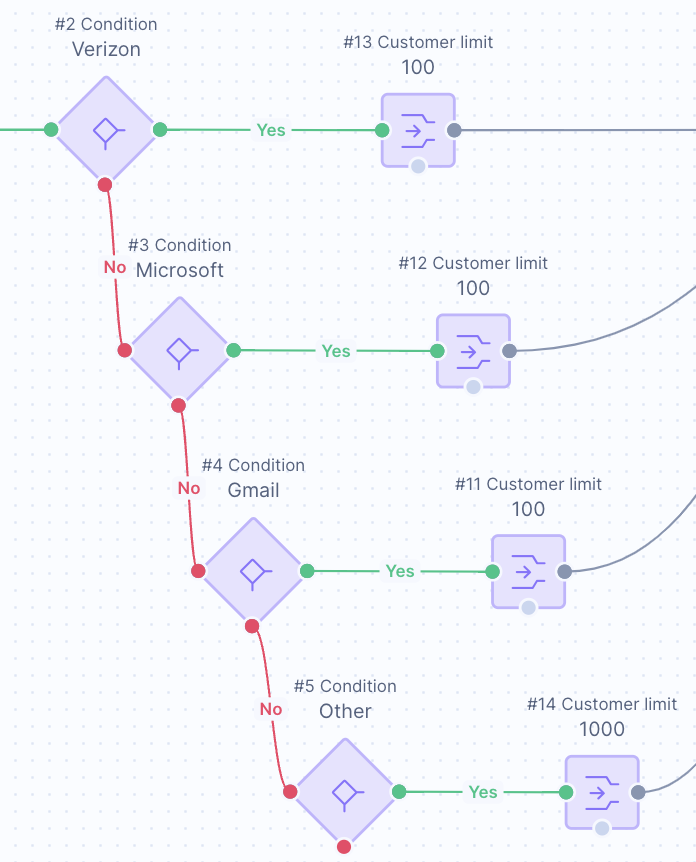
The #19 Total Audience node checks whether the customers are in the active segment. This segment will be imported from Klaviyo or new customers.
Each provider gets assigned a specific customer limit on each sending day based on the pre-defined warmup plan.
Exclusion List ID
Klaviyo Exclusion List ID needs to be added in each flow so it's clear which customers to exclude in Klaviyo for every sending day:
- Click on the #225 Webhook node
- Paste the exclusion list ID and click on
Save
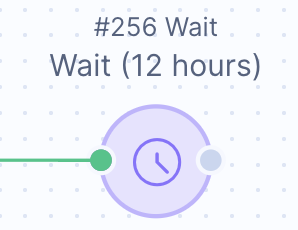
Adjust Waiting Time
Edit the #256 Wait node in each flow based on the appropriate sending time each sending day. The flows are triggered at midnight.
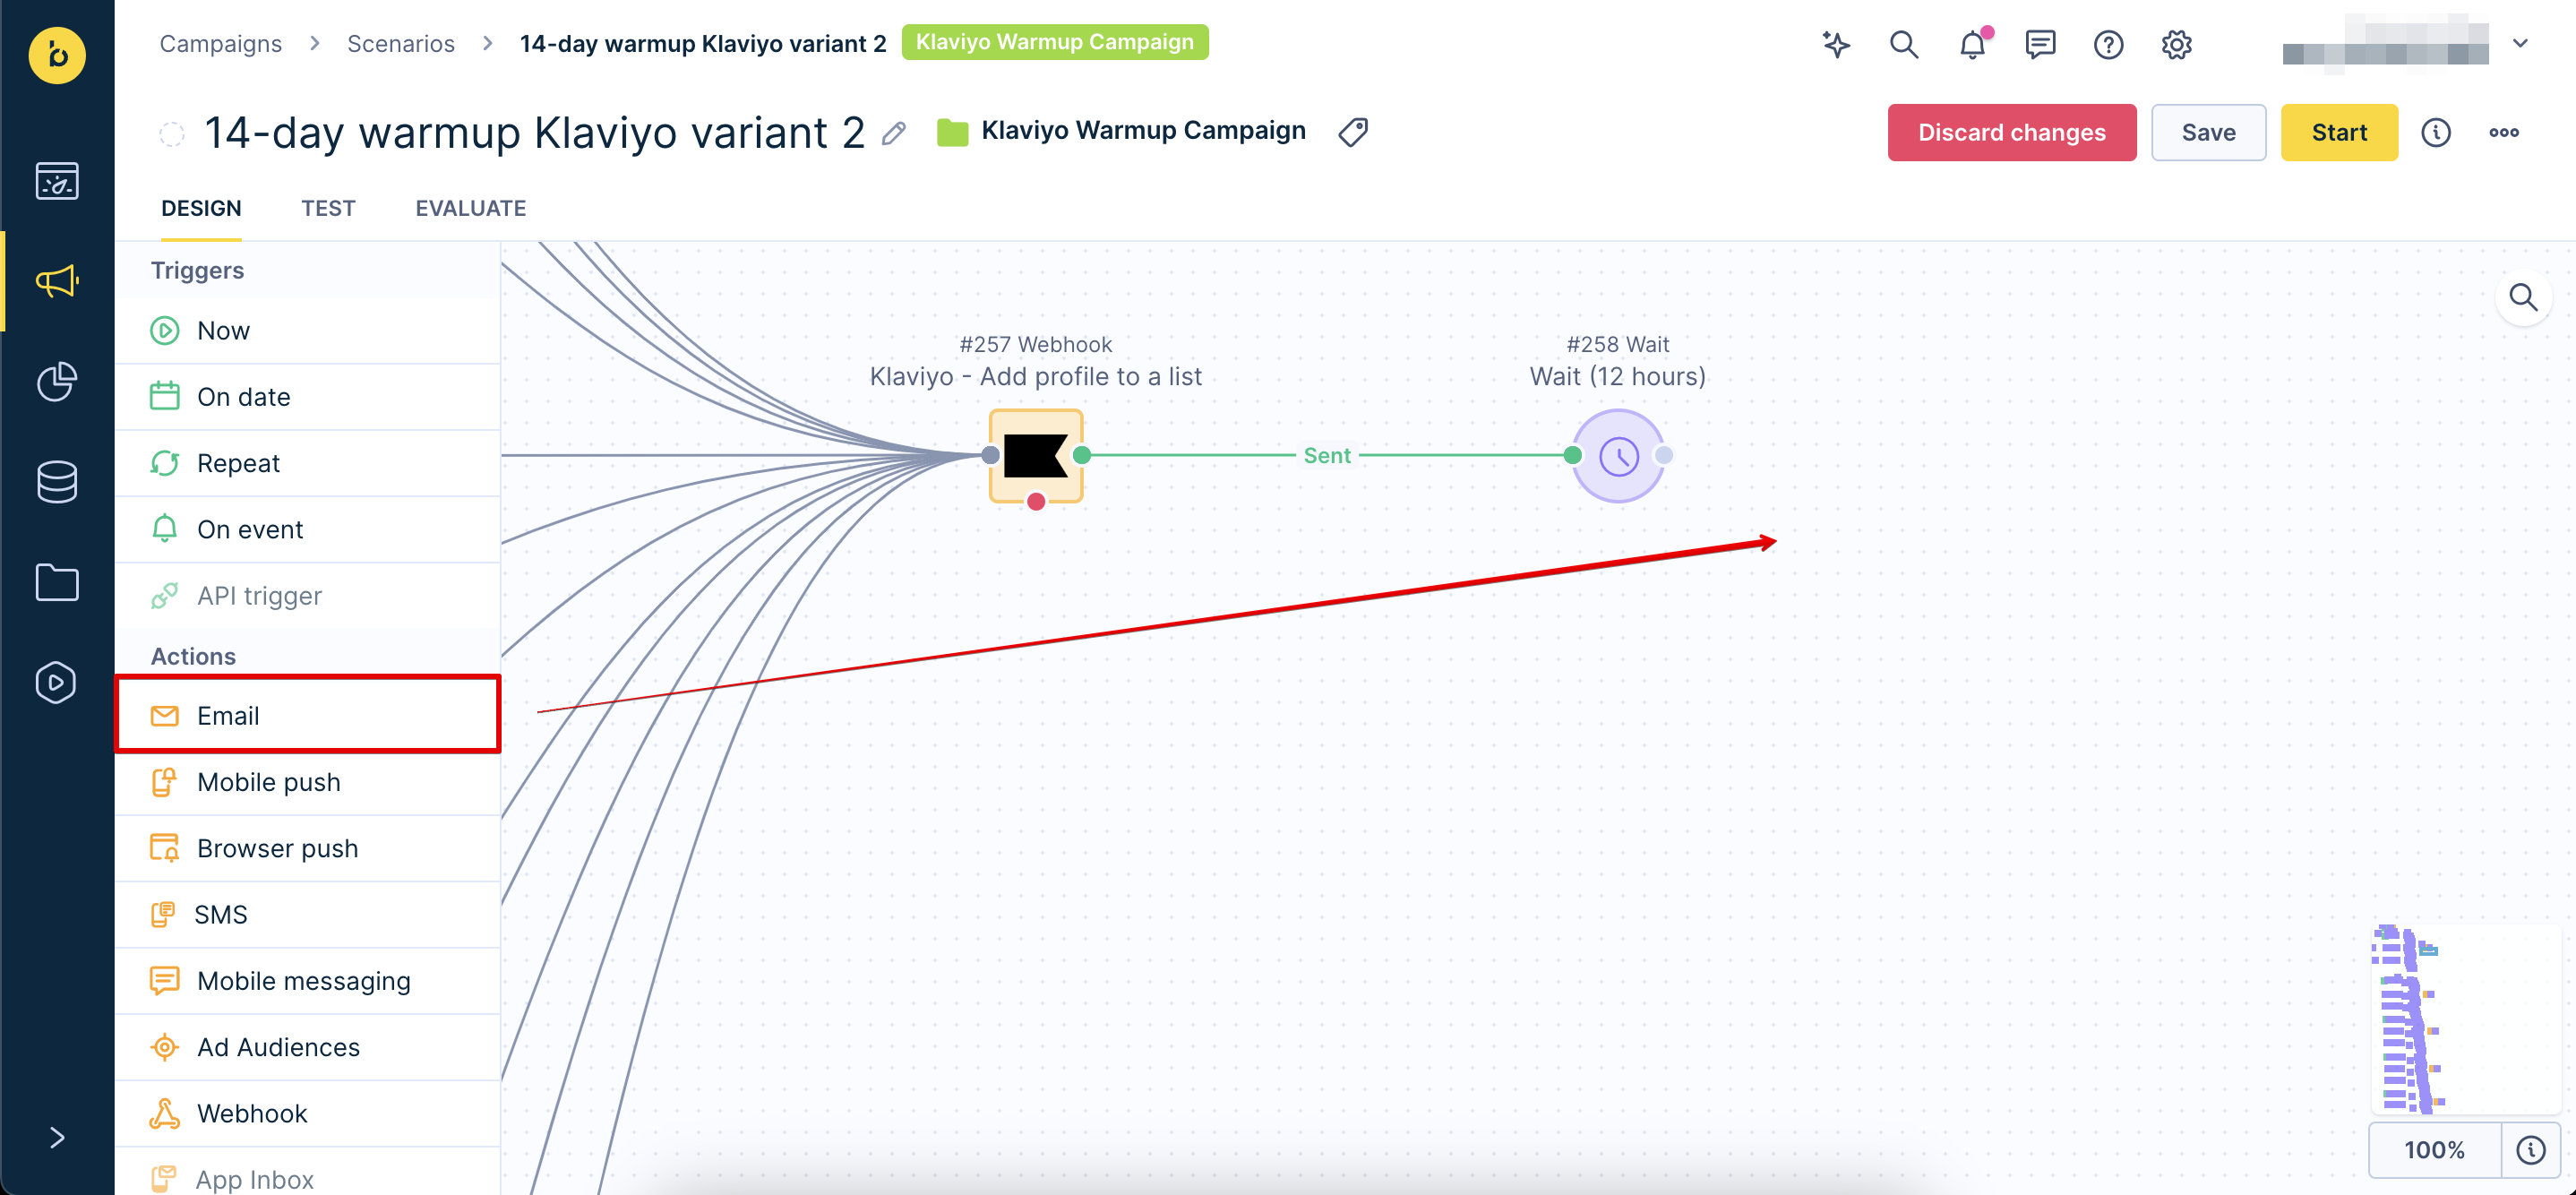
Add a New Email Template
Note
Each template should only be used once during Warmup
- Drag and drop the Email node and connect it with the #256 Wait node
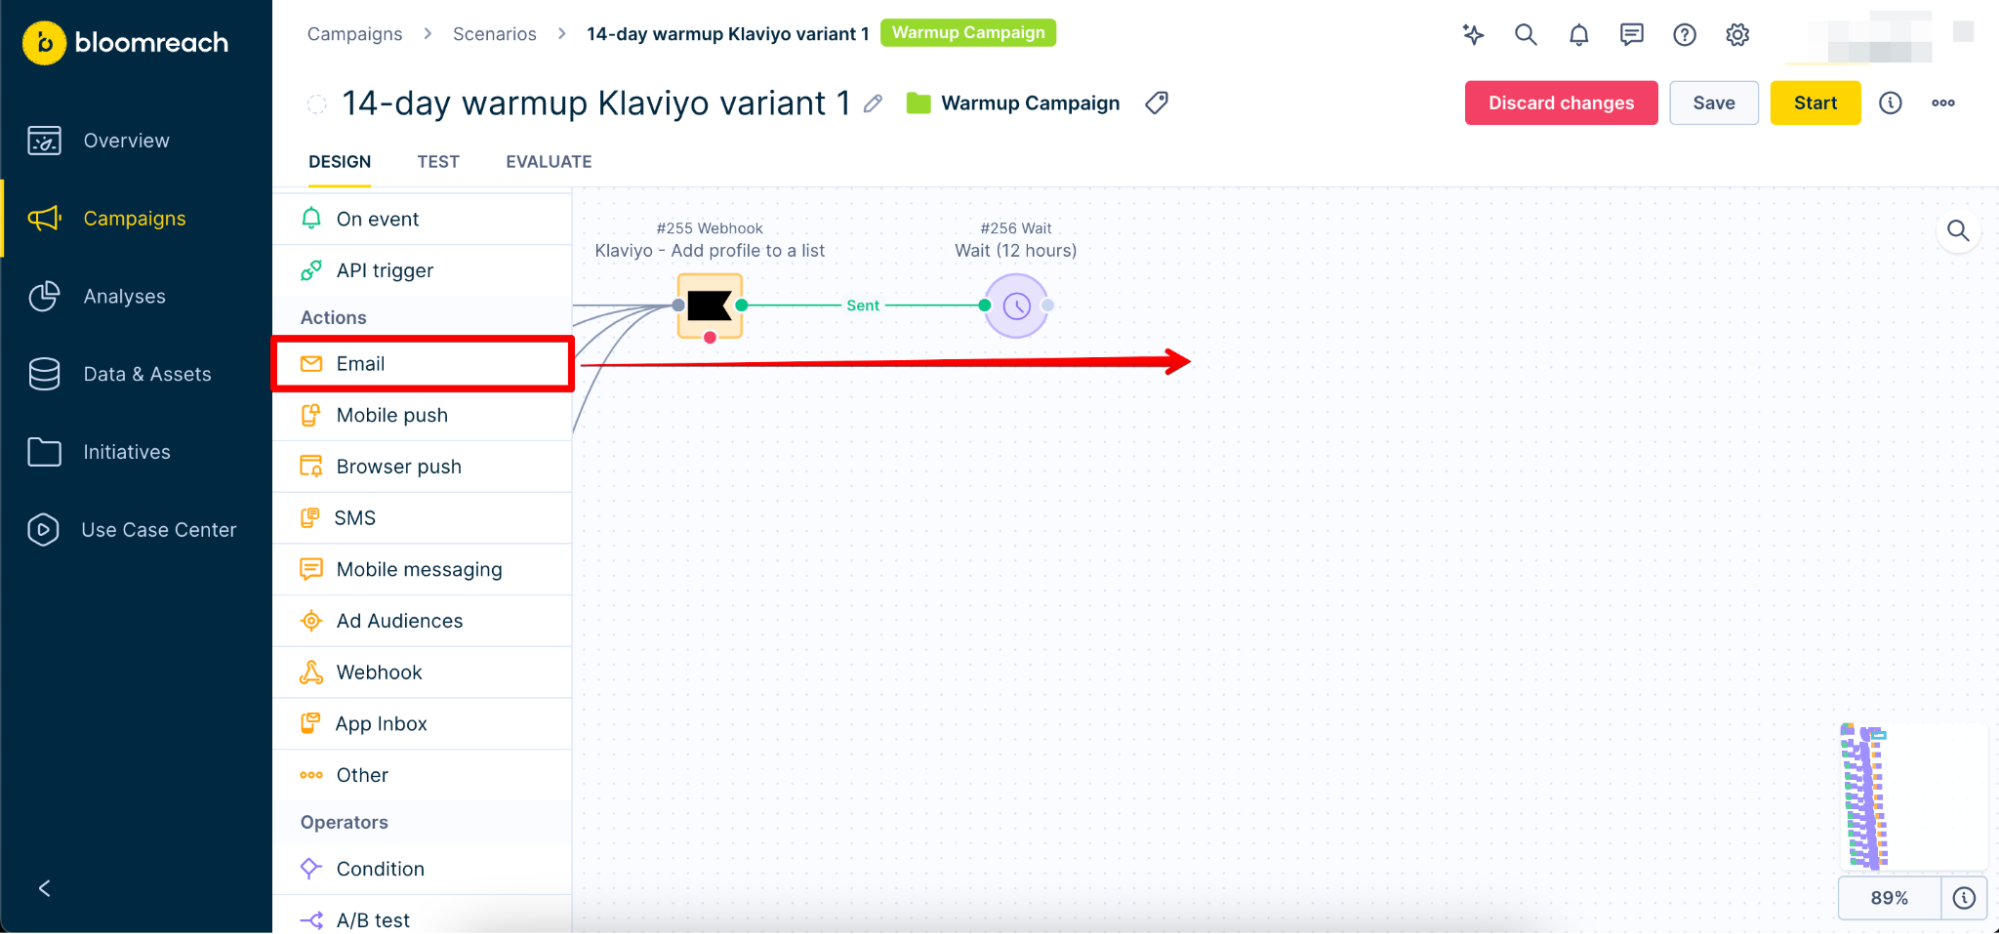
- Double-click the Email node and adjust the template to your liking
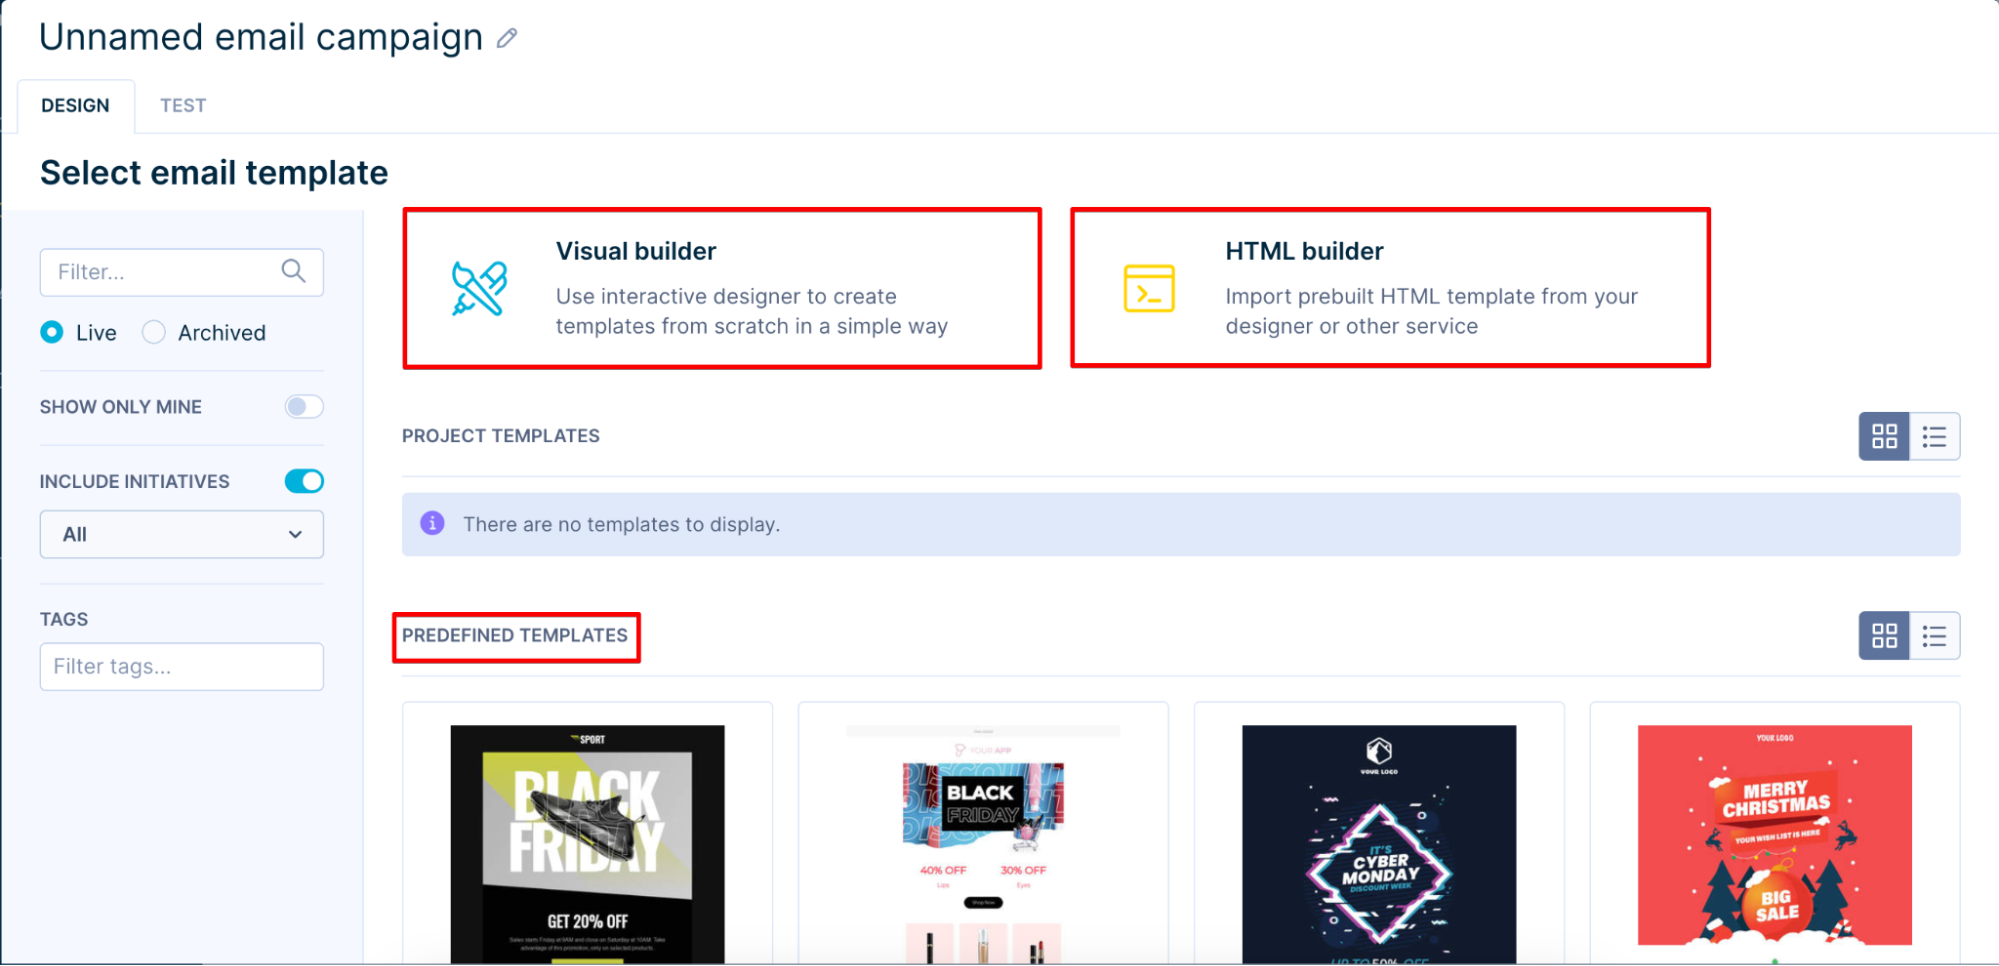
You can choose from pre-defined templates or create your own with the Visual builder or the HTML builder

Day 2
Since there is no volume increase, repeat the steps from the previous day with the same audience as in Day 1.
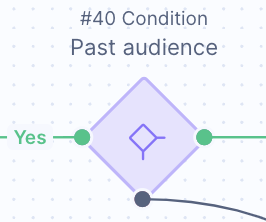
The #40 Past audience node checks customers already received the Warmup campaign email. Once the customers receive an email from Bloomreach, they will remain part of the next sending days.
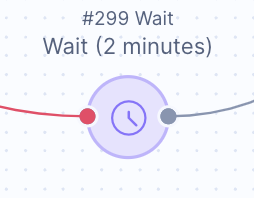
The #299 Wait node ensures that the customers from previous days will go through the flow first
Days 3-14
Repeat the steps from previous days. From now on, new audiences will automatically be added to the sending list each day.
Variant 2
The #296 Consent reject node ensures that customers who unsubscribe trigger a flow that also unsubscribes them in Klaviyo
Add the Unsubscribe List ID
- Go to Klaviyo, find the Unsubscribe list, and click on the three dots next to it
- Click on
List settings - Copy and paste the ID into the #297 Unsubscribe List node
Day 1
The flow starts at midnight each sending day, so you will have the most recent data to add customers to the list.
The trigger should always start X amount of days before sending the campaign from Klaviyo
Note
X = number of days you are using the same email template
Adjust Dates in the Scenario
Click on the #229 On date node and adjust the date of your first Email


Note
This step needs to be done manually for each day. Make sure that the days correspond to the day number in the scenario.
Adjust Customer Consent and Email
- Click on the #7 Condition node
- Adjust the Consent and Email
The #19 Total Audience node checks whether the customers are in the active segment. This segment will be imported from Klaviyo or new customers.
The #331 Past Audience node checks whether the customer has received this email template before.
Note
The name of the corresponding flow template needs to be updated in each "Past Audience" condition
Each provider gets assigned a specific customer limit on each sending day based on the pre-defined warmup plan

Exclusion List ID
Klaviyo Exclusion List ID needs to be added in each flow so we know which customers to exclude in Klaviyo for every sending day:
- Click on the #225 Webhook node
- Paste the exclusion list ID and click on
Save
Adjust Waiting Time
Edit the #256 Wait node in each flow based on the appropriate sending time each sending day. The flows are triggered at midnight.

Add a New Email Template
- Drag and drop the Email node and connect it with the #256 Wait node
- Double-click the Email node and adjust the template to your liking
You can choose from pre-defined templates or create your own with the Visual builder or the HTML builder
Day 2
Since there is no volume increase, repeat the steps from the previous day with the same audience as in Day 1.
Day 3
Repeat the steps from Day 1. From now on, new audiences will automatically be added to the sending list each day.
Days 4-14
Repeat the steps from Day 1-3.
Additionally, check the #558 Already in exclusion list node. This condition checks whether the customer is already a part of the exclusion list. You should target these customers first.
Updated 2 days ago